Handling the Model
A silicone mould is a versatile solution when you want to make moulds for applications such as epoxy, concrete, plaster, resin or candle casting. In this guide, we go through silicone mould making step by step, including one-part moulds, two-part moulds and moulds supported with a hard shell.
Mold silicones usually release easily from various materials. However, the model should be gently cleaned from dirt, oils, dust, etc., for example with acetone. If there are cracks or uneven areas you don’t want copied, fill and smooth them. Porous surfaces should be sealed. Materials like plastilina or beeswax may inhibit silicone curing and should be sealed with varnish.
Silicone can chemically bond with certain materials such as silicone itself, glass or porcelain. If needed, a release agent like petroleum jelly can be used.
The model’s surface color may change due to silicone, so testing before mold making is recommended.
Making the Mold Silicone
1. Mix parts A and B thoroughly in their original containers, scraping the bottom and sides.
2. Measure parts A and B in a 1:1 ratio. Kevra’s addition-cure silicones include Mold Silicone 1520, 1540, and 623.
3. Mix parts thoroughly, bottom and edges included. Poor mixing can cause uneven curing.
4. Mixing introduces air bubbles. These can be removed with vacuum (10–20 mbar). Note that silicone expands in vacuum. Without a vacuum, gentle stirring or pouring from a wide container edge can reduce bubbles.

10. If you haven’t pre-made any pouring or air vent holes in the mold, you can drill them now. An air vent is necessary to ensure that the casting material spreads evenly throughout the mold.
11. Join mold halves with tape or straps before casting.
8. Brush silicone again if needed and pour at least 1 cm over the model.
9. Allow silicone to cure and separate mold halves.
6. After curing, remove silicone from the box without detaching from the model. Flip the mold and model in the box.
7. Treat all surfaces with a release agent like 10% Fairy liquid solution (dish soap), as silicone sticks to silicone.
4. Brush silicone on the model surface to reduce bubbles.
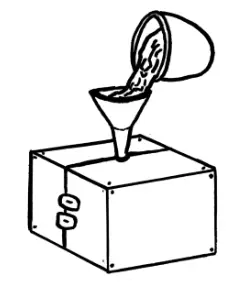
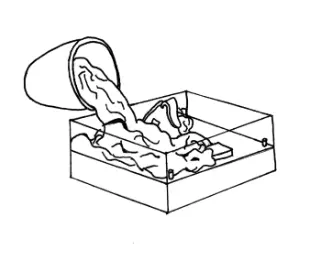
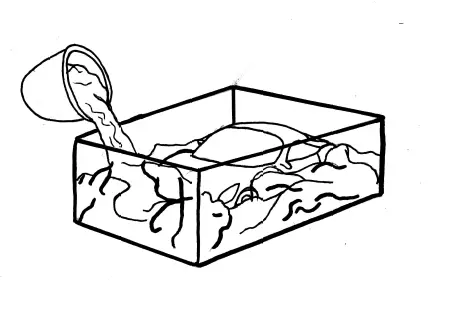
5. Slowly pour silicone into the box until it is at least 1 cm above the model.
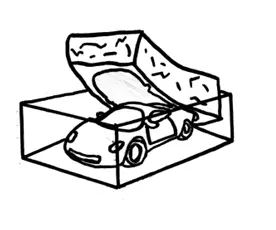
2. Mark the model roughly halfway. Protect one half with plastic wrap or foil.
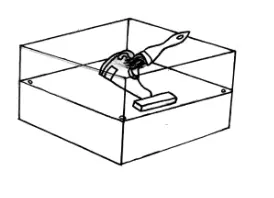
3. Place plastilina on the box bottom and press the model to the mark. Press alignment holes in plastilina. Plastilina can inhibit silicone curing so seal with varnish or plastic wrap.

Two-Part Silicone Mold
Planning is key for a two-part mold.
1. Clean and treat the model if needed.
6. The silicone mold is ready for use.
5. Once the silicone is fully cured, gently remove the mold from the mold box. Carefully pull the model out of the silicone mold.
3. For improved surface detail and to prevent air bubbles on the model’s surface, apply a thin coat of silicone with a brush before pouring.
4. Pour the silicone evenly and slowly into the mold box, making sure it covers the model by at least 1 cm above the highest point.
One-piece silicone mold
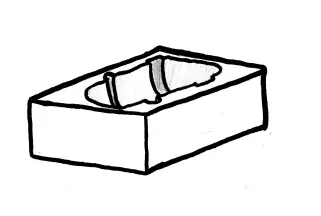
1. Clean the model thoroughly and if needed, seal any porous or delicate surfaces.
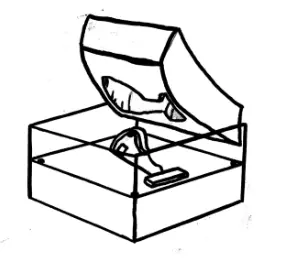
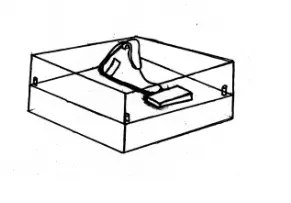
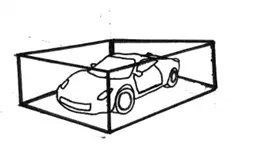
2. Position the model in a mold box (container) so that there is at least 2 cm of space around all sides and on top.
Mold with Hard Support Shell
1. Protect the model surface with plastic wrap or foil and place it in a box (box sides should be removable and can be fixed with Plasticine).
2. Apply approx. 1 cm thick Plasticine layer on model surface. A protective film can be added.
3. Pour plaster or similar over the model. Ensure at least 3 cm of plaster around. (The shell can also be made with fiberglass and epoxy/polyester laminate instead of a box.)
4. Separate parts and remove Plastilina and protective film from model.
5. Drill pouring and air vent holes in the hard shell. Pour holes must be lower than vent holes. Clean the inside of the shell from dust and dirt. Plasticine residue can prevent silicone curing.
6. Place the model and shell back into the box. Ensure that the shell is positioned correctly. Prepare silicone and pour from the pouring hole until silicone appears in the vent hole.
7. Let silicone cure and remove mold from box and model. Mold is now ready to use.