Making a Face Life Cast with Body Double™ Silicone
These instructions guide you in making an accurate and safe life cast mold for various purposes such as art, education, makeup or other visual productions. The comfort and safety of the model are the most important aspects of the process - allocate enough time and work calmly.
Step 1: Preparation and Skin Protection
Choose a calm workspace with good lighting. The model should sit comfortably and relaxed throughout the process. Protect hair away from the face, for example with a shower cap or plastic wrap and cover clothing if needed.
Body Double silicone is designed not to stick to hair. Optionally, apply petroleum jelly or Body Double release wax on the skin, especially on eyebrows, eyelashes, hairline and around nostrils.
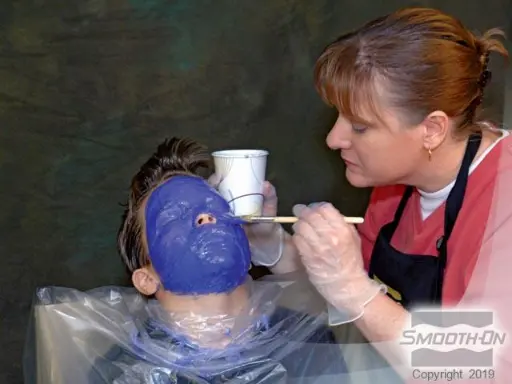
Step 2: Mixing and Applying Silicone
Mix the silicone in a 1:1 ratio by volume or weight. Be sure to mix thoroughly, scraping the bottom and sides. The color should be uniform. Silicone cures quickly, so work efficiently.
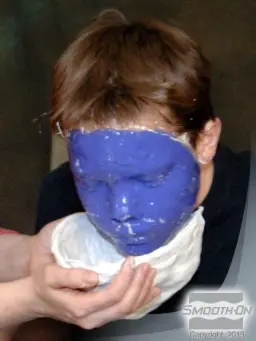
Apply the first thin layer gently on the face using a brush or fingers. This so-called “contact layer” helps capture fine details. When the first layer firms up slightly, apply a second and if necessary a third layer until the mold thickness reaches about 1 cm.
Pay attention to breathing passages: do not cover the nostrils. The model must be able to breathe freely during the entire process.
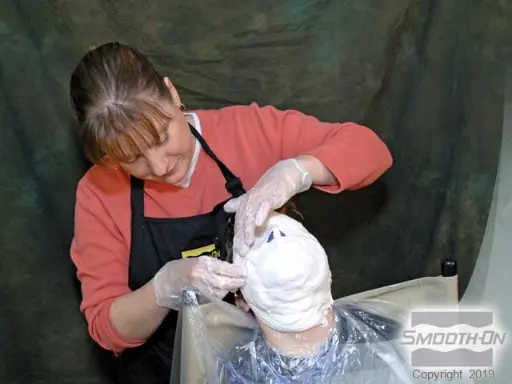
Step 3: Making the Support Shell
After the silicone has cured, prepare a support shell using plaster bandages. Moisten the bandages with water and apply two layers over the silicone mold. Ensure the shell is symmetrical and fully supports the mold. Let cure for 15–20 minutes.
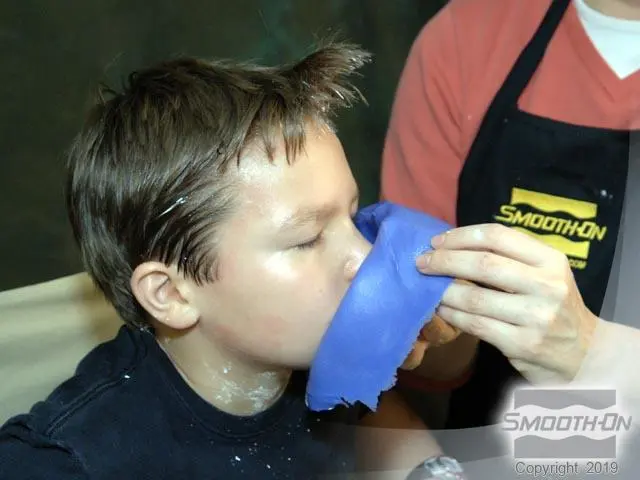
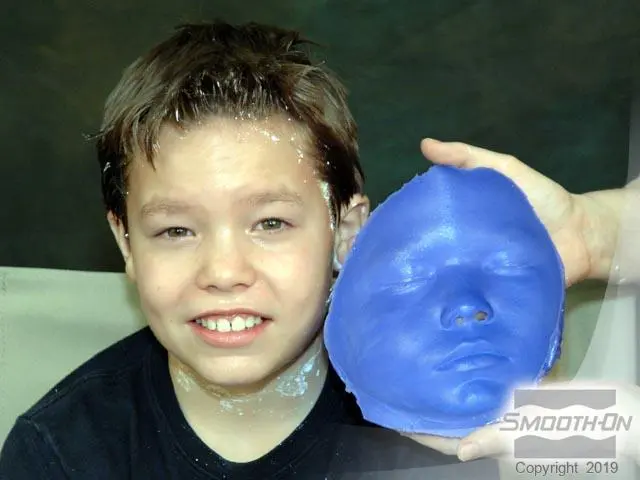
Step 4: Removing the Mold
Carefully remove the plaster support shell first. Then slowly peel the silicone mold off starting from the edges. Do this calmly to avoid damaging the mold and to keep the model intact.